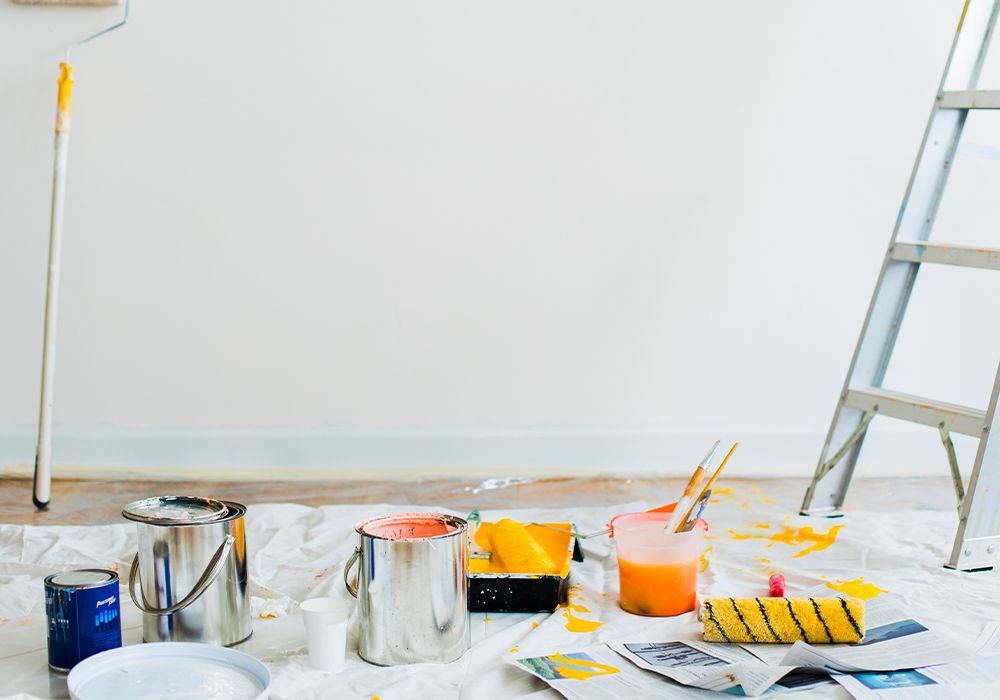
Things You Require To Paint Your Room
Before painting, tidy up your area by removing any furniture, cleaning the walls, caulking, priming, and taping.
Painting your space can give it a new, fresh look, but a smooth, durable finish requires some preparation. The smoothness and faultlessness of the walls are guaranteed by careful preparation.
Removing the furniture, washing the walls, caulking any holes or cracks, priming the walls and trims, and taping the walls are all steps in the preparation of a space. After this is finished, you can start with specific painting materials.
Why is preparation for painting required?
- Perfectly imperfect: Your wall will appear uneven and amateurish if you paint over cracks, holes, and other imperfections. By filling in these irregularities, you can make the paint stick to the surface more uniformly, which lowers the likelihood that it will peel or flake over time.
- Smooth finish: The walls are left with a smooth finish when all dirt, dust, and stains are removed. Clear walls keep anything from getting stuck beneath the paint.
- Shield adjacent surfaces: Painting floors, furniture, and fixtures with protective coverings helps prevent unintentional paint spills and drips. When you choose interior room paint, it avoids damage to the surrounding environment and saves time and work when cleaning up later.
- Increases paint durability: Your freshly painted space will remain beautiful for a long time because preparation prolongs the paint's life and increases its resistance to deterioration.
Things You Require To Paint Your Room
- Paintbrush
Wall painting tools work well for edging and smaller areas, while rollers are fantastic for covering huge wall areas. Oil-based paints are applied with natural brushes, while latex paints are best applied with polyester brushes. Paint your room in straight lines easily along trim sections, use an angled brush. The best brushes for filling in even, broader expenses are those with flat heads.
- Spackle
For drywall repair, use spackling or spackle. Similar to drywall mud or joint compound, spackle is thicker and usually sold in 1/2-pint to quart-sized containers. Walls with holes up to one inch in diameter can be spackled. Before painting over a hole that is significantly larger than an inch, you should repair the drywall.
- Putty Knife
To fill a dent, fracture, or hole, use this flexible, flat blade to scoop spackle out of the container and pack it in. To force the material into the crevice or hole, scrape the spackle up against the wall.
- Paint Scraping
This is a very useful instrument that resembles a putty knife but is not as flexible. For scraping, the stiff blade performs better.
The more flexible putty knife is better for spackling walls since it can better push spackle into holes and cracks due to its elasticity.
- Sanding block or sandpaper
After filling in holes and cracks with spackle and letting it cure, sand the excess Wall painting tools away to make the area smooth and consistent with the wall's surface. To avoid overspending and inadvertently making a pit or crater in the spackle that will show through the newly painted surface, use a fine-grit foam sanding block or cover a piece of wood with sandpaper.
- Cleaning Materials
Dust and clean the walls and trim any debris after you've patched and sanded your walls. For wall washing, a solution of one or two drops of dish soap diluted with warm water works well. Primers, paint, and tape will adhere more readily to a clean surface.
- Tape for Painters
Painter's tape can help you avoid getting paint on trim or other areas you're trying to avoid, and it can help you get the clean, sharp lines you want. Although there are other types of tape available, most painter's tape resembles blue or green masking tape. Even while taping off your paint project appears laborious at first, it might save you time when cleaning up afterwards. When the tape is removed for the big reveal and the lines are flawless, you'll thank yourself for simplifying the painting procedure.
- Painter's Plastic
Painter's plastic, also known as plastic sheeting, may shield your floors, windows, and furniture from paint drips, spills, and sprays. Painter's plastic is available in a variety of thicknesses: 0.31 mil, 0.7 mil, and up to 2 mil. To protect worktops, chairs, and other non-walking surfaces, use thinner plastic.
Cover the floors with heavier, more durable plastic sheeting or plastic drop cloths because you will be walking and working on them. To keep gaps from opening up while you work, make sure to seal the seams and tape down the edges tightly.
- Gloves
If you want to keep your hands clean, gloves are a nice-to-have accessory but not essential (provided you don't have an allergy to latex, nitrile, or other popular “rubber” glove materials). Additionally, having additional gloves on hand is usually a good idea in case you come into any dirty DIY tasks in the future. After discussing the equipment required for preparation, it's time to gather the materials required for painting the space.
- Primers for paint
Paint primer is a layer that is applied before ordinary paint, usually costing less. It acts as a base for your new paint color and applies like paint.
For lighter colours, use a light-shade primer; for darker colours, use a dark primer. For instance, painting a black paint job over a red room will prevent the vivid colour from showing through the first layer of black paint. This is accomplished by first applying a dark priming coat. The purpose of the primer is to establish a layer of bonding between the freshly painted surface and the prepared one.
Certain 2-in-1 primer and paint formulas might cost as much per gallon. However, if you're painting over the same or a comparable colour, you don't need a primer. Also, choose a different primer designed for porous surfaces like brick, stucco, or textured paint.
Conclusion
When you choose green paint walls, having the appropriate supplies is essential to getting results that look professional. Making sure you have everything you need in advance will speed up the process, reduce the chance of accidents, and result in a modern, colourful living area that suits your tastes in design. To get a professional-looking paint job, make sure you have all the equipment you need. From priming surfaces to actually applying paint, every tool has a distinct function in the painting process.